# script install vultr - oracle cloud
```
sudo yum -y install epel-release
sudo yum search htop
sudo yum install htop
htop
yum install nginx
systemctl start nginx
systemctl enable nginx
sudo yum -y install wget curl
dnf search java
dnf install -y java-17-openjdk.x86_64
dnf install mysql-server
sudo systemctl start mysqld.service
sudo systemctl enable mysqld
sudo mysql_secure_installation
mysql -u root -p
// cho phep root login
CREATE USER 'uptool'@'localhost' IDENTIFIED BY 'passs';
GRANT ALL PRIVILEGES ON *.* TO 'uptool'@'%';
GRANT CREATE, ALTER, DROP, INSERT, UPDATE, DELETE, SELECT, REFERENCES, RELOAD on *.* TO 'uptool'@'localhost' WITH GRANT OPTION;
ALTER USER 'root'@'localhost' IDENTIFIED BY 'passsss';
FLUSH PRIVILEGES;
vi /etc/my.cnf.d/mysql-default-authentication-plugin.cnf
#add
bind-address = 0.0.0.0
sudo systemctl restart mysqld.service
# remove
sudo dnf remove mysql-server mysql-client
sudo rm -rf /etc/mysql
sudo rm -rf /var/lib/mysql
#nginx permission
setsebool httpd_can_network_connect on
setsebool httpd_can_network_connect on -P
getsebool -a | grep httpd
#oracle cloud
Open Port 80 Oracle Cloud Compute Instance (CentOS)
FYI This was harder than it needed to be:
Looking at your instance info, find VNIC section, click "Public Subnet".
Click on your security list.
Add a new entry with the following options:
"Stateless" = No, "Source" = 0.0.0.0/0, "IP Protocol" = TCP, "Source Port Range" = All, "Destination Port Range" = 80
SSH to your instance.
While SSH'ed in your instance, run command firewall-cmd --permanent --add-service=http.
While SSH'ed in your instance, run command firewall-cmd --reload.
Now start Apache, NGINX, or whatever server you need to on port 80. You can now access from the internet.
#certbot
yum -y install epel-release
yum -y install certbot-nginx
sudo certbot certonly -d uptool.org
crontab -e
0 12 * * * /usr/bin/certbot renew --quiet
#mailu
https://setup.mailu.io/2024.06/setup/e6ae9cce-e9d2-471d-837d-af2781da7d88
domain config là mail.uptool.org
website là website chính: uptool.org
IPv4 listen address: 0.0.0.0
Subnet giữ nguyên: 192.168.203.0/24
setup xong ra link và chạy 2 file dưới để ra config
cd /mailu
wget https://setup.mailu.io/2024.06/file/e6ae9cce-e9d2-471d-837d-af2781da7d88/docker-compose.yml
wget https://setup.mailu.io/2024.06/file/e6ae9cce-e9d2-471d-837d-af2781da7d88/mailu.env
sửa file env:
vi mailu.env
sửa TLS_FLAVOR=notls
sửa file docker chỉnh 2 port 443 và 80 sang port khác sau đó trỏ nginx vào http là được.
docker compose -p mailu up -d
tạo password
docker compose -p mailu exec admin flask mailu admin admin uptool.org {PASSWORD}
config nginx
Sau đó vào url check với tài khoản admin@uptool.org
https://mail.uptool.org/
https://mail.uptool.org/admin
```
[**https://yum.oracle.com/oracle-linux-nodejs.html#EnablingReposOL8**](https://yum.oracle.com/oracle-linux-nodejs.html#EnablingReposOL8)
**Looking for a later version of NodeJS?** Follow my tutorial on [how to install NodeJS 16 on Ubuntu 20.04](https://www.stewright.me/2022/01/tutorial-install-nodejs-16-on-ubuntu-20-04/).
### Step 1 - Add NodeSource PPA
Let's begin by installing the NodeSource PPA. This will allow us to install later versions of NodeJS using the Apt package manager. Let's ensure we're in the home directory and download the setup script:
```
cd ~
curl -sL https://deb.nodesource.com/setup_14.x -o setup_14.sh
```
Next, let's run the setup which will add the NodeSource PPA:
```
sudo sh ./setup_14.sh
```
### Step 2 - Install NodeJS
We will now have the NodeSource PPA added, allowing us to install NodeJS 14. First let's update the APT package library:
```
sudo apt update
```
And finally, install NodeJS 14:
```
sudo apt install nodejs
```
### Step 3 - Verify NodeJS version
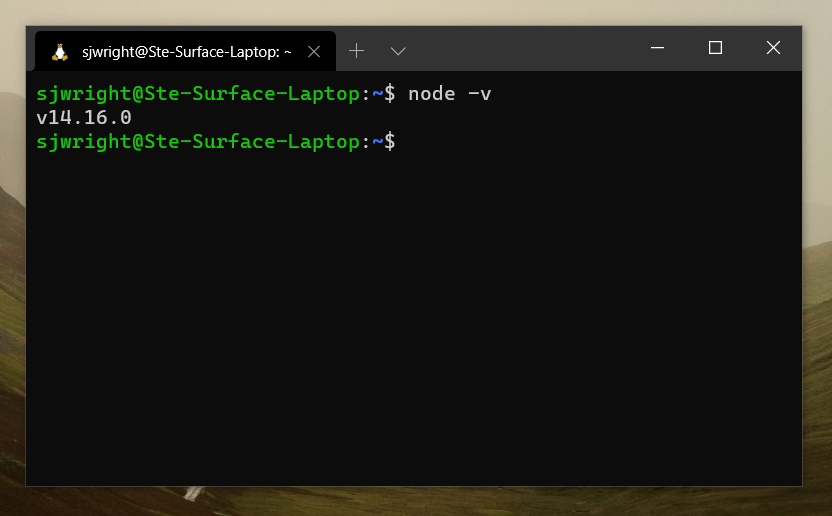
We should now have NodeJS 14 installed. We will need to check the version installed, we can do this by running the following command:
```
node -v
```
You should see an output that shows NodeJS being at least 14.16:
```
// Some code
sudo dnf module list --all nodejs
454 sudo dnf module enable nodejs:14
455 sudo dnf module reset nodejs:10
456 sudo dnf module enable nodejs:14
457 sudo dnf module install nodejs
```